Katie Stew

A rich, simmering blend of my favorite things

March 31, 2014
by katie
1,158 Comments

The Plague of Doves

I’m slowly making my way through all the books I got for Christmas this year. I just finished “The Plague of Doves” by Louise Erdrich. What a wonderful and interesting book. This is the first that I have read of Erdrich. The book reminds me of the writing of Gabriel Garcia Marquez. Erdrich writes about multiple generations of families in the small town of Pluto, North Dakota. The book is about how the history of the families still affect the interactions within the town generations later. Acts both terrible and beautiful will reverberate for decades.

The reason that this book reminds me of the books of Marquez, is there is a wonderful mix of both straight historical telling and also magical realism. A number of the families that the story follows are part of the Ojibwe tribe and a number of their family stories have a twist of magic involved.

(I just went through my archives and I can’t believe I never wrote about either “Love in the Time of Cholera” or “100 Years of Solitude”! Both were written by Gabriel Garcia Marquez and both are beautiful books. “100 Years of Solitude” is actually on my reread list for the near future. I suppose I’ll have to tell you about them both at a later time. But, if you have never read either, you are in for a treat.)

book
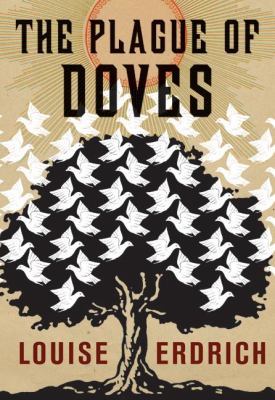
The story is told from the perspective of many story tellers. Originally, a number of these chapters were released as short stories and were then brought into this novel. There is a slight disjointed feel to the book, probably due to this fact. The first storyteller is Evelina, a young girl of mixed white and Native American heritage. She is told a story by her grandfather, Mooshum, about her ancestry. In 1911, a family of white settlers was murdered. A number of local Indians were rounded up and hung for the offence, an offence that almost everyone agrees they did not commit. The book then shows through multiple people how that event changed the families and the community forever.

One thing that I wish that this book had was a family tree. There is so much intermarrying between these families, that it is hard to keep track at times of how one person is related to another. And it is important! The family histories affect the relationships between people 50 years later. One person is trusted and another person is hated, sometimes based on who their grandfather was and what he did when the town was first created.

All in all, I quite enjoyed this book. Some of the stories are beautiful and moving. The writing is nice, and though the overall feel is a little disjointed, everything comes together quite nicely in the end. In fact, as I was approaching the end of the book, and only had a few pages left, I was worried that I would be very disappointed in the end. However, I was surprised by how well everything was explained and how so many loose ends were knotted up in the last stretch.

It isn’t my new favorite book in the world or anything, but I will say that it contains some characters that are so interesting and well written that they will stay with me. Their histories resonated with me. And there is one story about a violin that was absolutely magical. I’ll leave you with an excerpt from the book that I enjoyed.

“Here I come to some trouble with words. The inside became the outside when Shamengwa played music. Yet inside to outside does not half sum it up. The music was more than music- at least what we are used to hearing. The music was feeling itself. The sound connected instantly with something deep and joyous. Those powerful moments of true knowledge that we have to paper over with daily life. The music tapped the back of our terrors, too. Things we’d lived through and didn’t want to ever repeat. Shredded imaginings, unadmitted longings, fear and also surprising pleasures. No, we can’t live at that pitch. But every so often something shatters like ice and we are in the river of our existence. We are aware. And this realization was in the music, somehow, or in the way Shamengwa played it.”

March 27, 2014
by katie
1,076 Comments

Cherry buckle with Almond Crumb

Desserts. Oh how I love thee. Unfortunately, I’m trying to eat healthier at the moment and so I’m not really eating desserts, but at least I can look back on beautiful desserts like this and remember. And boy do I remember. This was so delicious. It tastes like winter and wonderful.

(Is that a weird descriptor? I need another cup of tea this morning.) (Man I wish I had a slice of this cake to go with my tea.) (Or a cookie. I don’t think I’m a person that is meant to cut back on carbs.)

Cherry Buckle with Almond Crumble
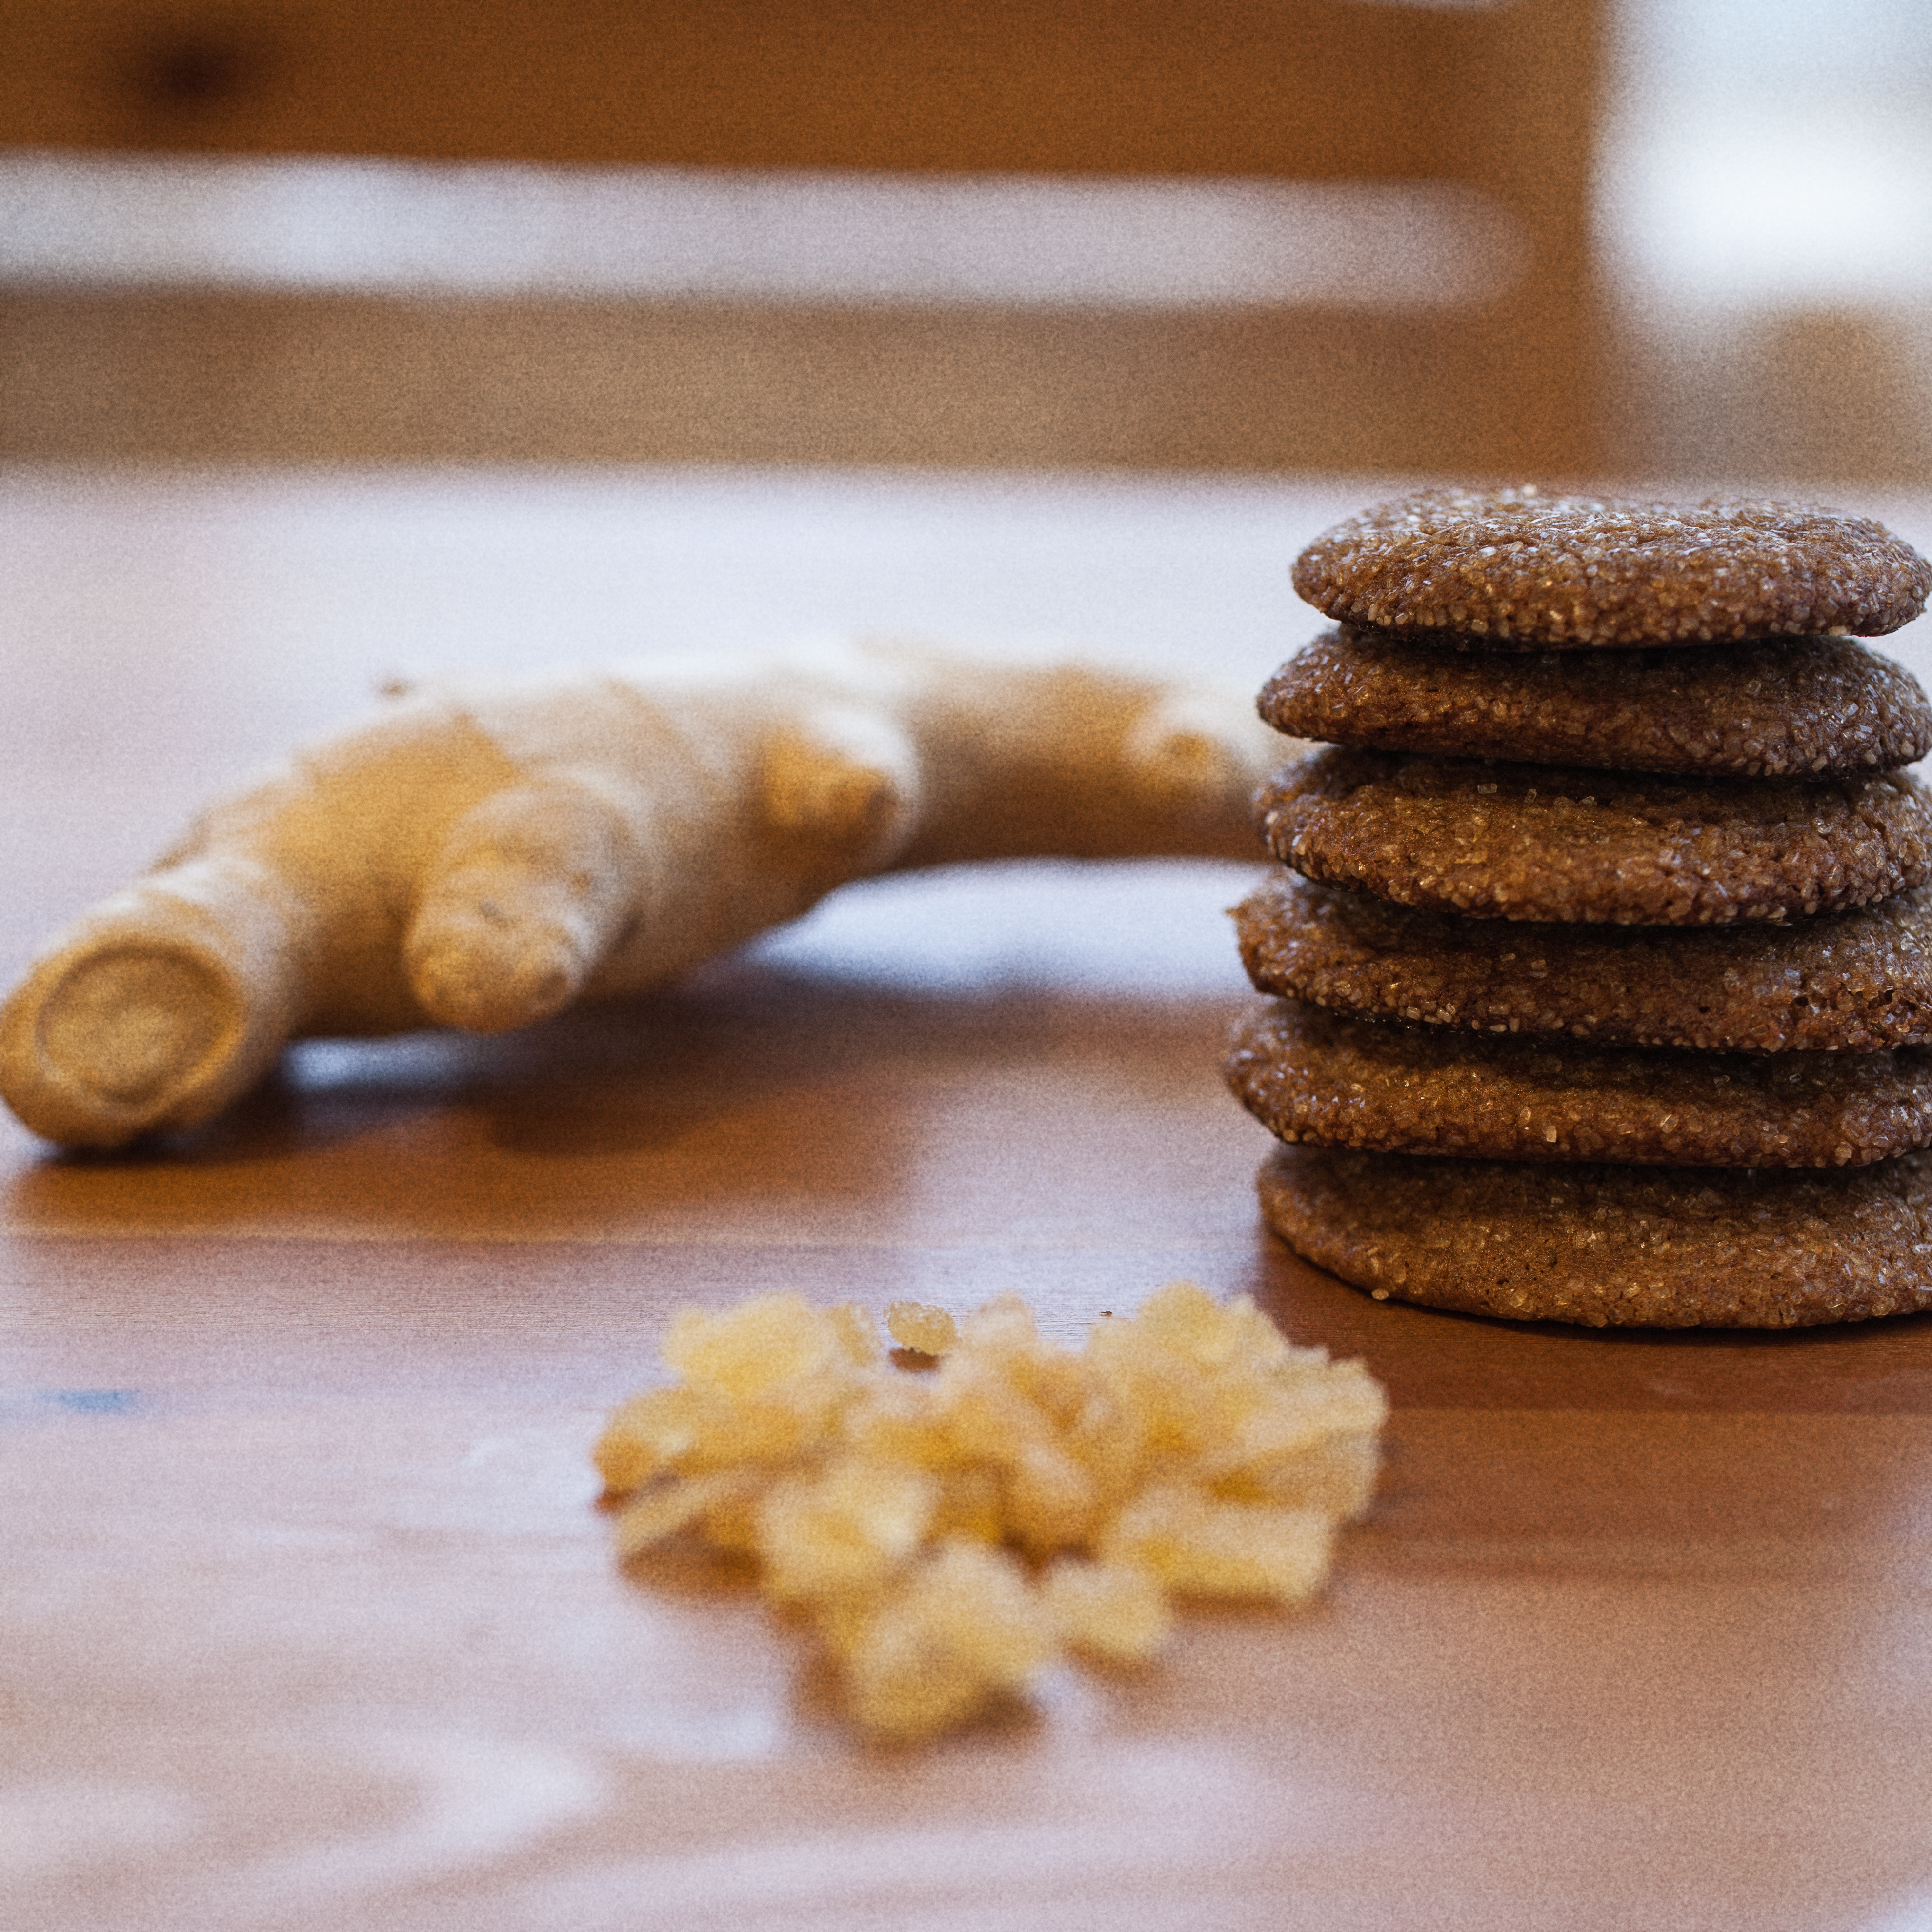
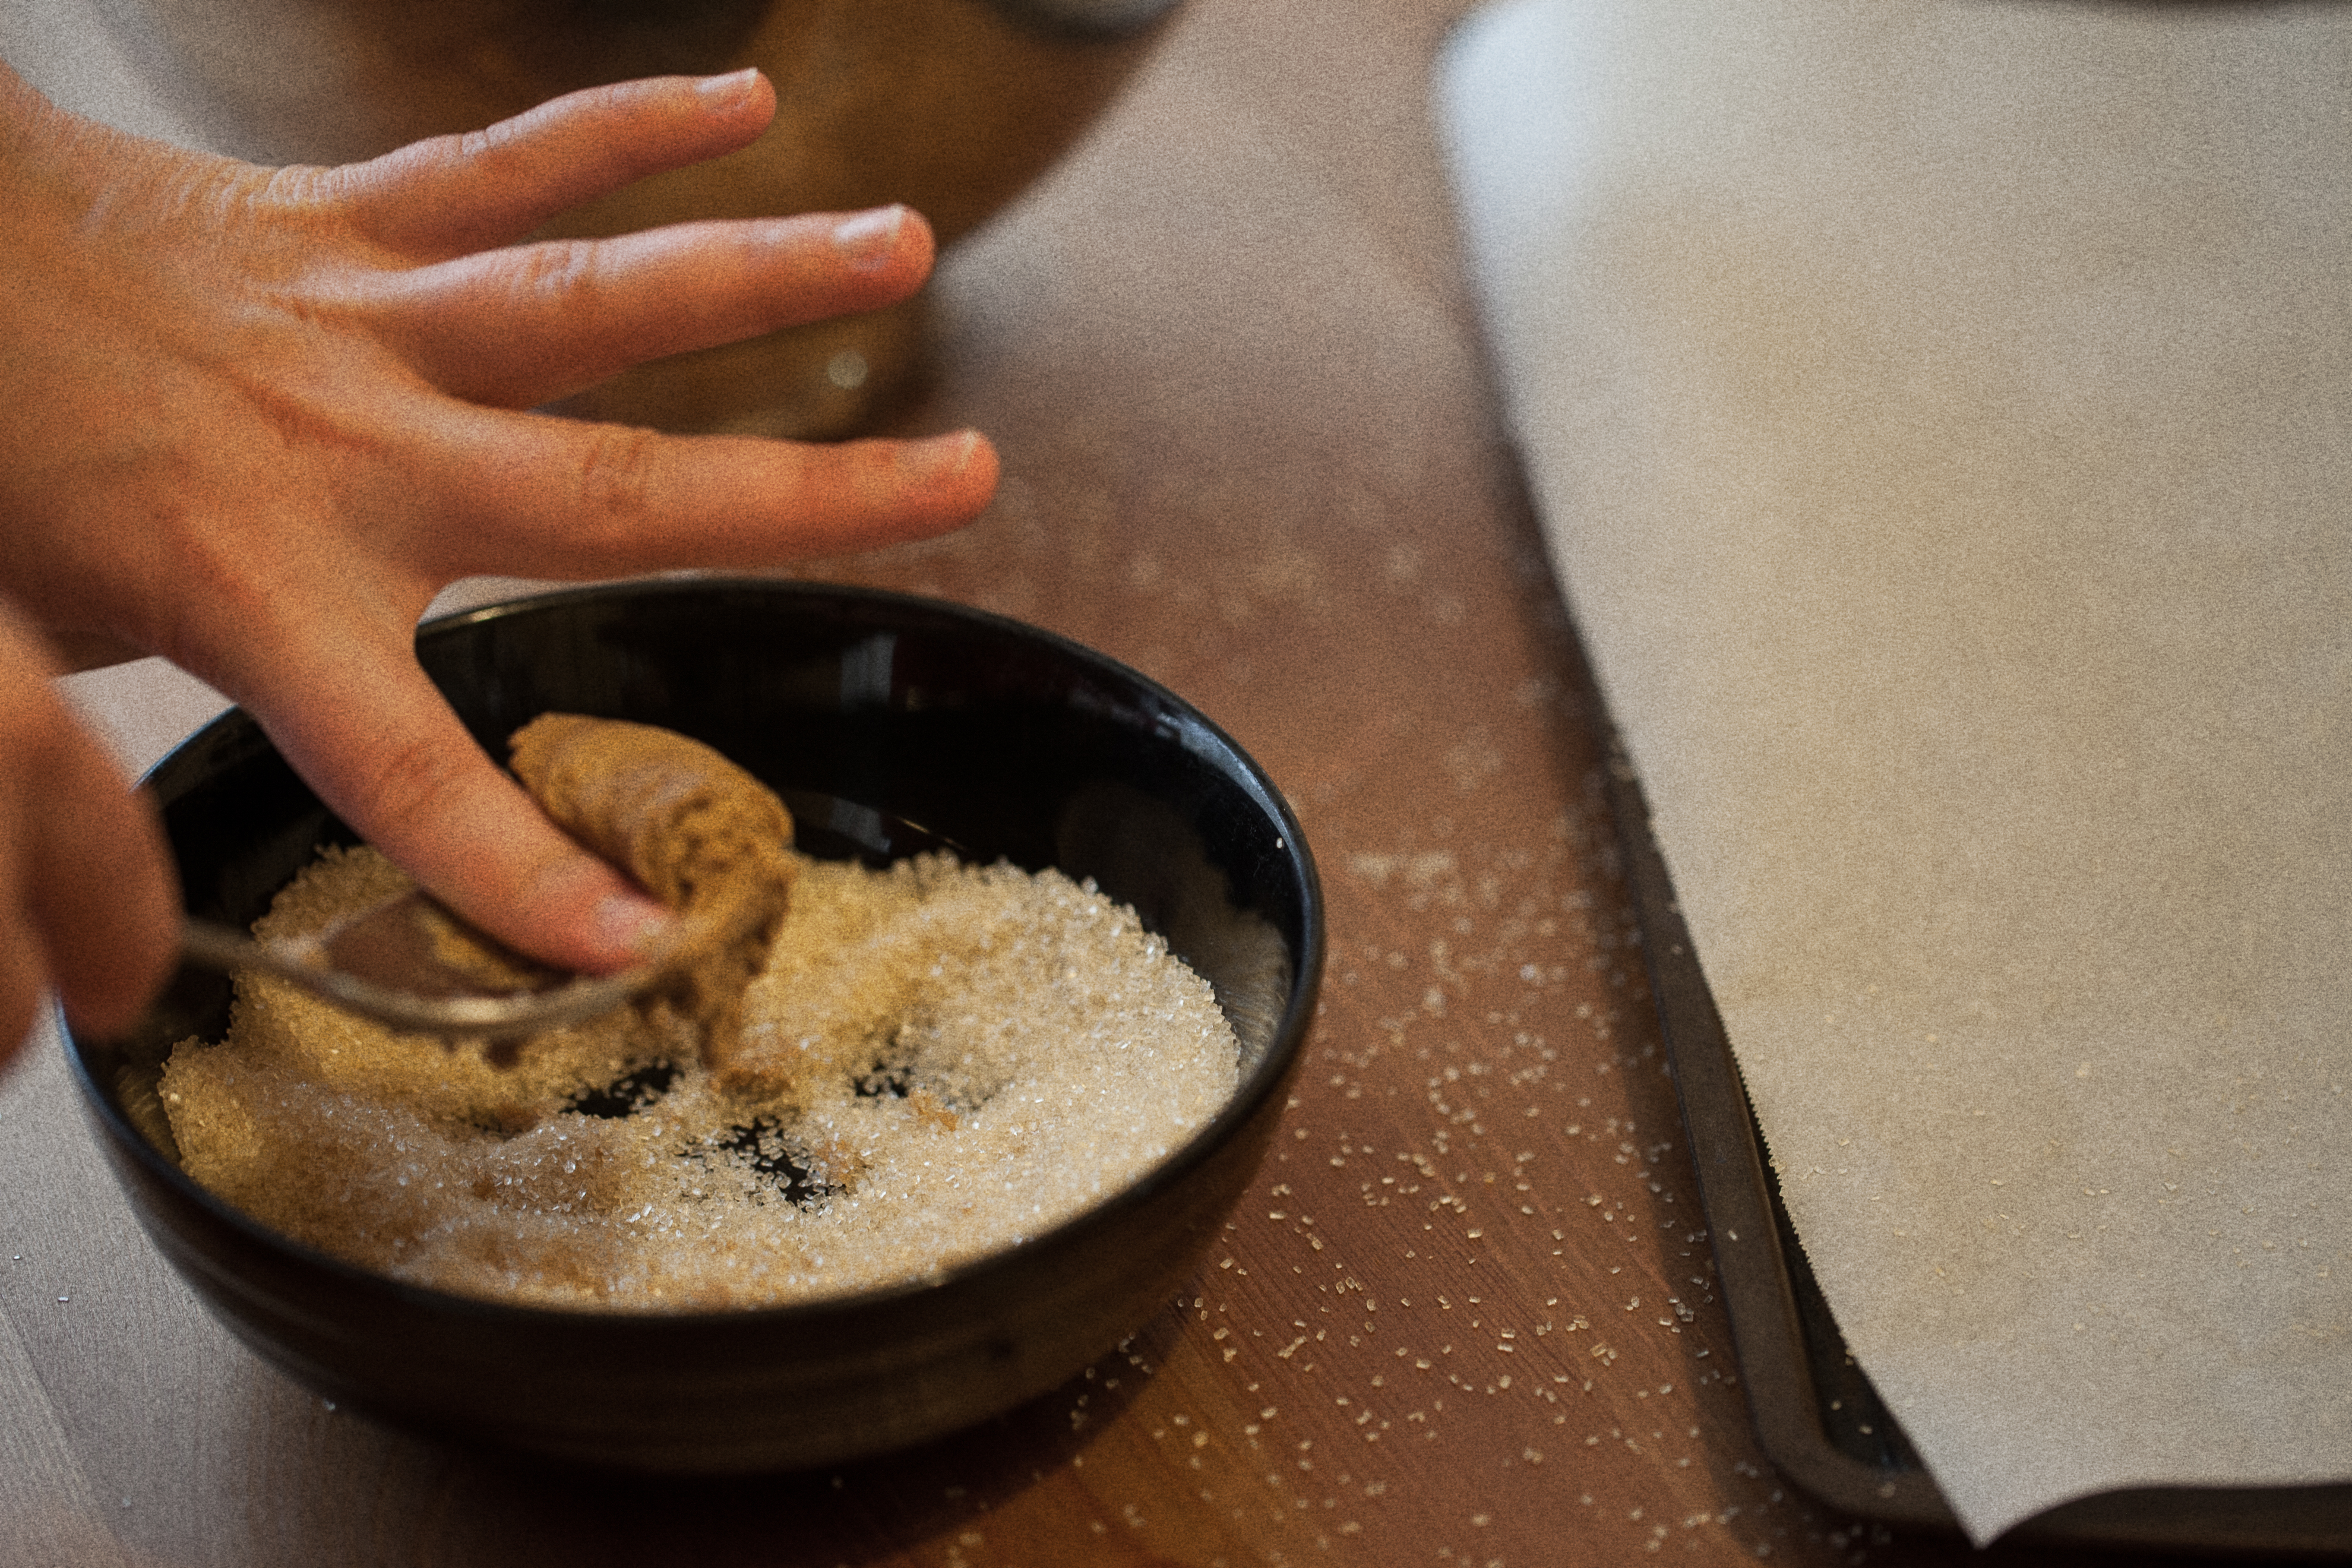
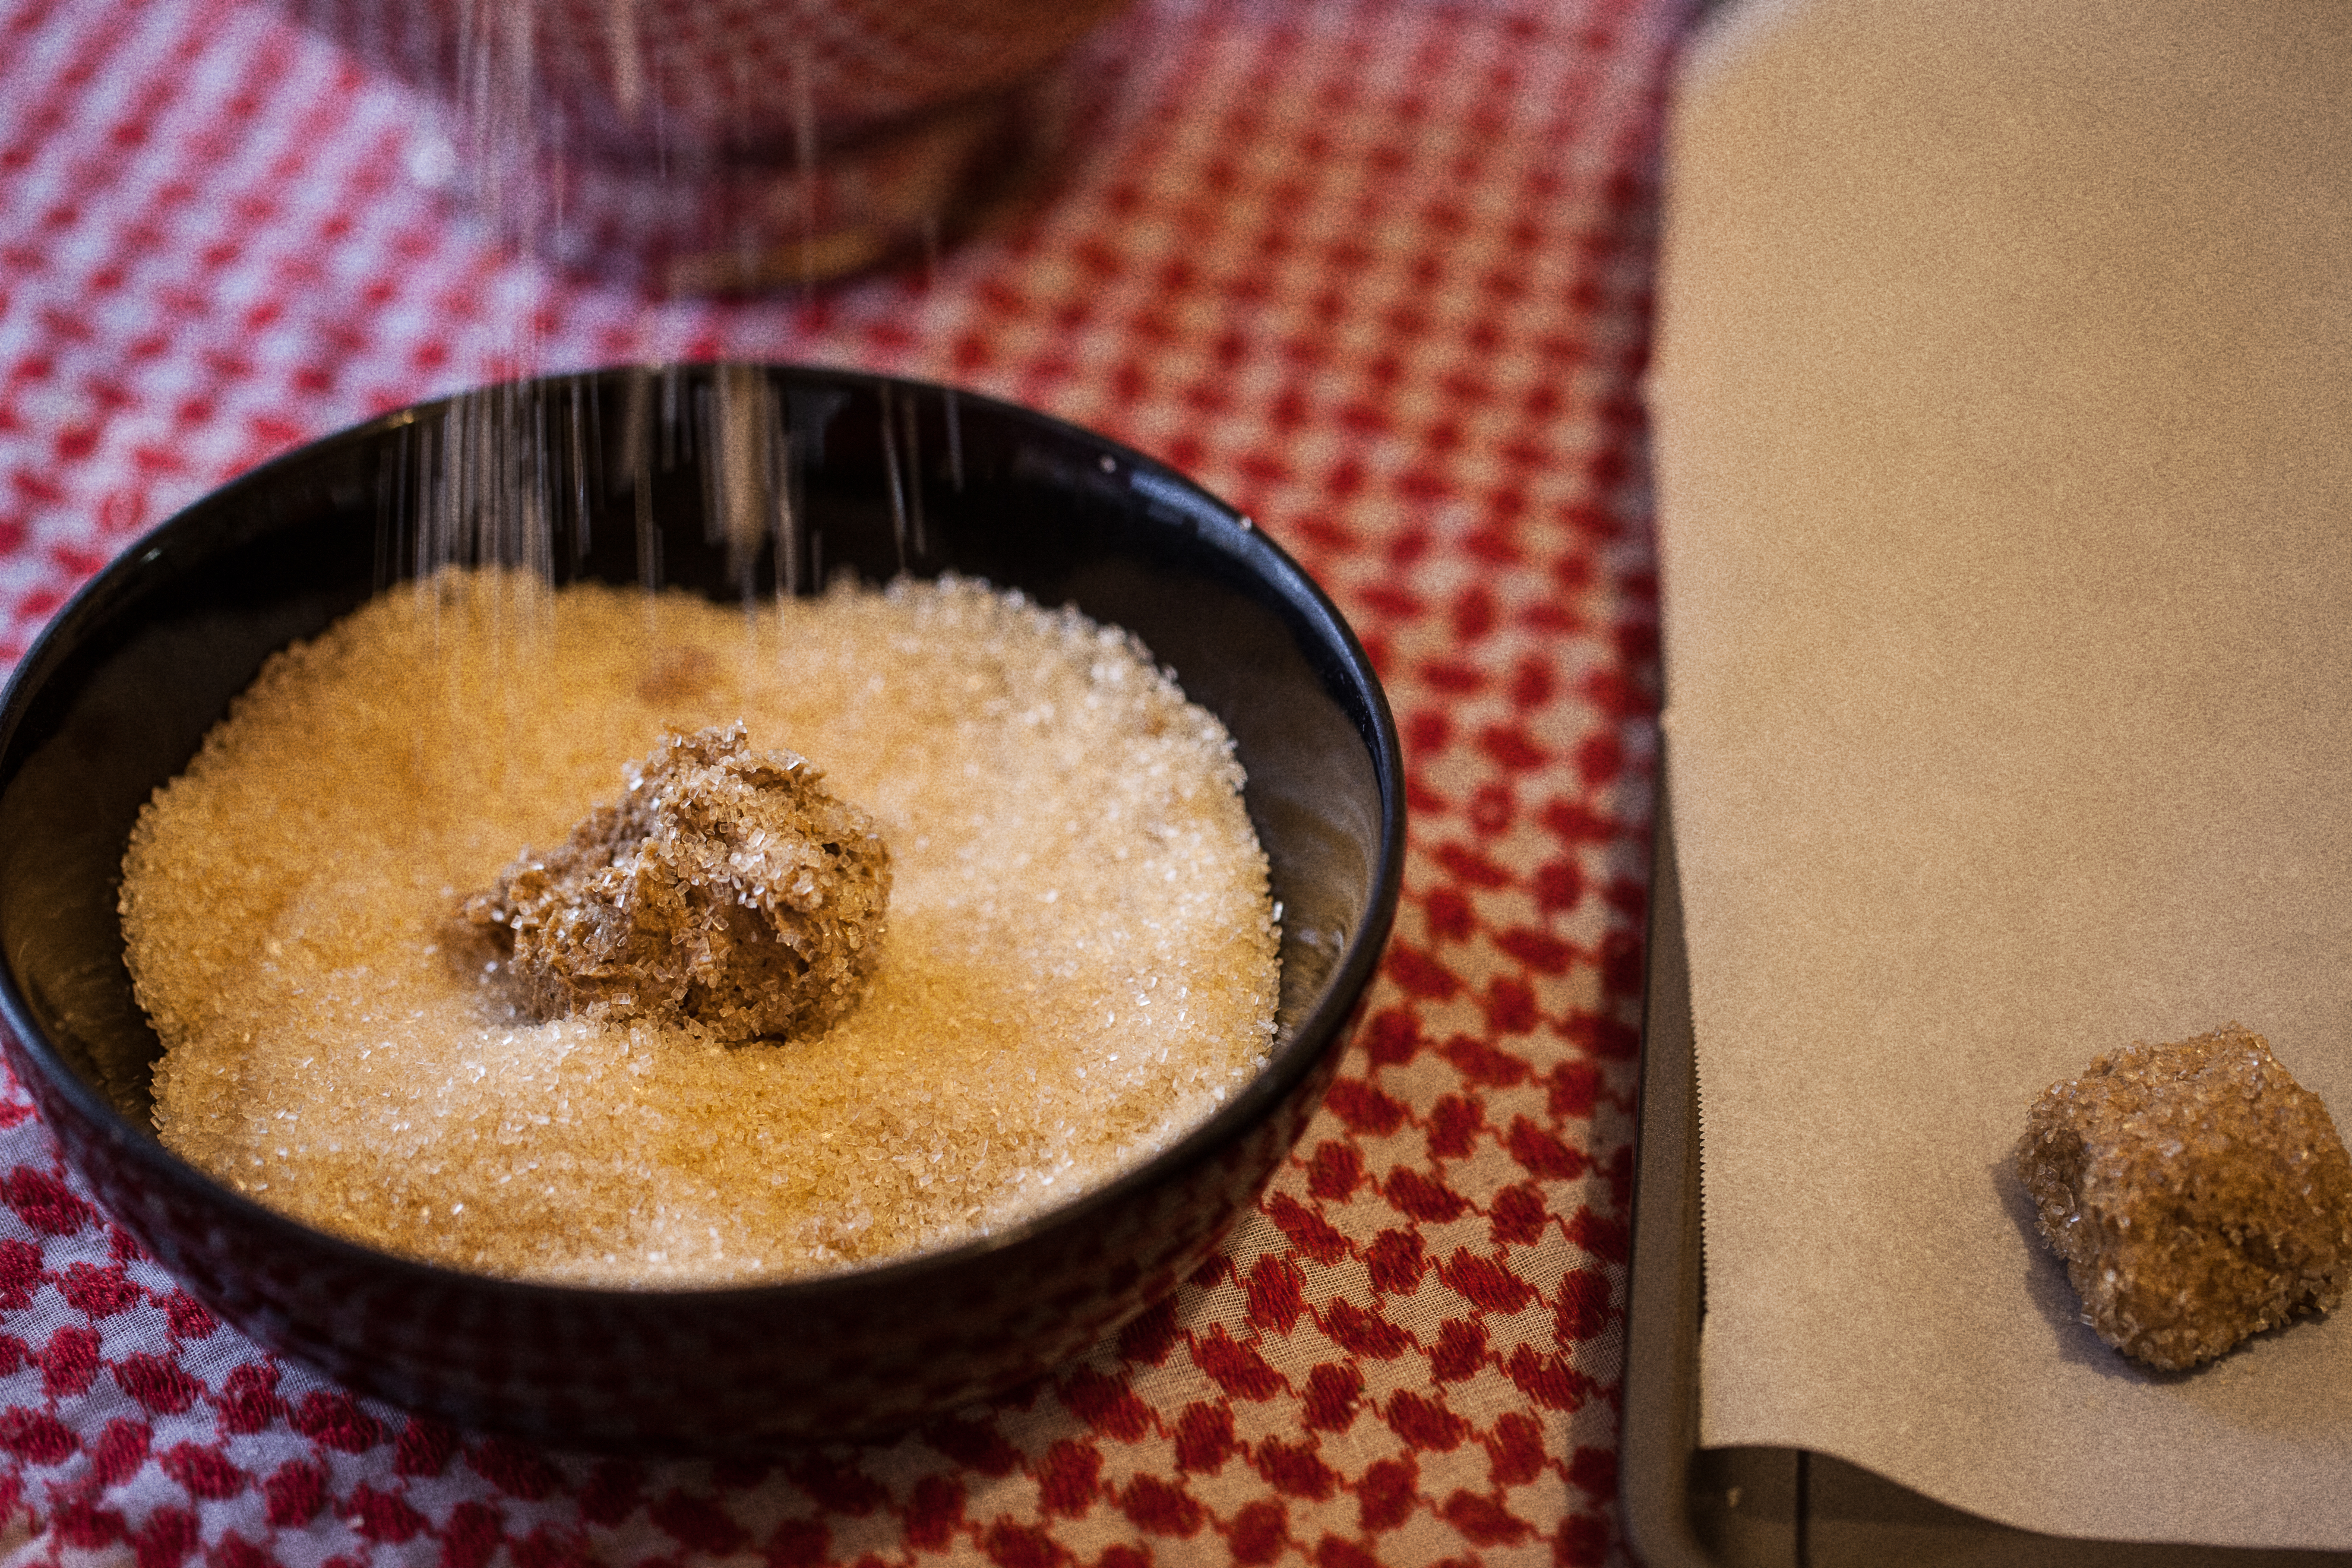
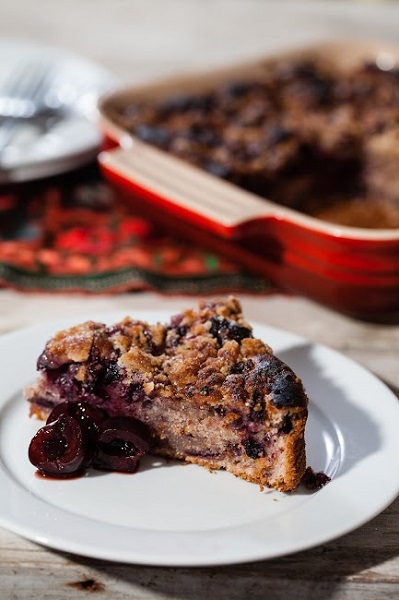
This recipe comes from the wonderful cookbook, Rustic Fruit Desserts. In the past, I’ve made Mimi’s German Apple Cake from this book and just loved it. I love too many apple cakes to have a favorite, but Mimi’s is just wonderful. Every time I make an apple cake, that latest one becomes my favorite until I make a different one. But Mimi’s is beautiful and simple and you should just go make it. That is really all there is to it.

… But that’s not the recipe I’m talking about today. I’m talking about this Buckle with Crumb topping. This cake was dense. It was rich and not fooling around. Now, below I’ve provided the original recipe for the cake, but in real life, that isn’t what I made. Why you may ask? Because I couldn’t for the life of me find any cranberries when I went shopping for this cake. Not fresh, not frozen. I guess people only care about cranberries around the holidays. So what did I do? Did I give up and find a new recipe? Of course not! I’m not a quitter! I decided to get creative. I used dark frozen bing cherries. I’m sure the original recipe would have been more tart than the one I made, but I have to say, the cherries were delicious in this.

And then you ask, why does the title say Almond Crumb and the recipe below is for Vanilla Crumb? Well, what can I say? Sometimes I don’t plan things as well as I should. By the time I got to this dessert, I had already used all the vanilla in my cabinet for the Lemonsweet. So, being the innovative person that I am, I used almond extract instead, making it an Almond Crumb.
Cherry Buckle with Almond CrumbSo below is the original recipe for Cranberry Buckle with Vanilla Crumb, but if you want to be like me, you’ll substitute cherries for cranberries and almond extract for vanilla. Is it what was intended? Maybe not, but this is a book about rustic fruit desserts, so I like to think that Cory and Julie would appreciate my making do of a challenging situation. Make it whichever way you want, I’m sure both would be delicious, but what I know is that I am looking forward to using the rest of the Almond Crumb in my freezer and I thought this cake was delicious.

So there.

Cranberry Buckle with Vanilla Crumb

From: Rustic Fruit Desserts: Crumbles, Buckles, Cobblers, Pandowdies, and More by Cory Schreiber and Julie Richardson

Vanilla Crumb

Makes 2 cups

  • 1 cup all-purpose flour
  • 3/4 cup granulated sugar
  • 1/4 cup packed light brown sugar
  • 1/4 tsp sea salt
  • 1/2 cup cold butter, cut into 1/4 inch cubes
  • 1 TB vanilla extract

Combine flour, sugars, salt, and butter in a food processor or stand mixer. Combine on low speed until the texture of coarse crumbs. Drizzle the vanilla over the mixture and mix briefly to distribute vanilla.

Storage: Use the topping immediately, or store it in a plastic bag in the freezer for up to 3 months.

Cranberry Buckle with Vanilla Crumb

  • 1 TB butter, for pan
  • 1 cup Vanilla Crumb
  • 1 3/4 cup all-purpose flour
  • 2 tsp baking powder
  • 1/2 tsp salt
  • 1/2 cup butter
  • 3/4 cup sugar
  • zest of one orange
  • 2 eggs
  • 1 TB vanilla extract
  • 1/2 cup sour cream
  • 2 cups cranberries

Preheat the oven to 350. Butter a 9 inch square baking pan.

Sift the flour, baking powder, and salt together in a bowl. Using a mixer, cream the butter, sugar, and orange zest together on medium-high speed for 3-5 minutes, until light and fluffy. Add the eggs one at a time, scraping down the sides of the bowl after each addition, then stir in the vanilla. Stir in the flour mixture in three additions alternating with the sour cream in two additions, beginning and ending with the flour. Fold in one cup of the cranberries.

Spread the mixture into the prepared pan. Distribute remaining 1 cup cranberries over the cake and sprinkle the crumb topping over the cranberries.

Bake for 45-50 minutes, or until lightly golden and firm on top.

Enjoy!

Photographs by Jessica Yager

March 20, 2014
by katie
1,013 Comments

Lemonsweet: Recipes from the Game of Thrones

“Arianne drew the child away. “You must be hungry. We have dates and cheese and olives, and lemonsweet to drink. You ought not eat or drink too much though.” – A Feast For Crows

So begins the heading to the Lemonsweet entry in A Feast of Ice and Fire: The Official Companion Cookbook. This is a cookbook written by fans of the Game of Thrones series. Throughout the books, the author is constantly talking about what people are eating. So, two adventurous and dedicated women decided to figure out exactly what it is the characters were eating. Does it sound like kind of a cheesy idea for a cookbook? Maybe. At first I certainly thought so. Then I dove in, and let me tell you. This is a very cool cookbook.

LemonsweetWhy is it a cool cookbook? Because these ladies that wrote it did their homework. They researched actual Medieval cooking techniques and recipes to recreate what the people of Westeros might have been eating. For many of the recipes, there is an authentic Medieval version and then a modern version of the recipe. The cookbook is littered with quotes from the GOT series, linking the recipes to specific moments. I think that whether you are interested in the Game of Thrones books and show or not, you could still find a lot of information and entertainment out of this cookbook.

For instance, this Lemonsweet drink, which is basically just lemonade. But it is a lemonade that tastes old world. The honey gives it a depth that regular sugar cannot. The addition of the fresh herbs and vanilla make you come back for more and savor the unique flavors on your palette. This is a perfect drink to make for your next GOT viewing party, to enjoy on a sunny day, or to make on a rainy day and pretend that the weather is better. And let me tell you, it also makes a lovely mixer for some gin or vodka.

Make yourself a pitcher and you just might find yourself sitting in King’s Landing, watching the waves crash against the sides of the Red Keep, feeling the sun on your face, and plotting the rise of your family and the downfall of your enemies. Or you’ll be there in your mind anyways. Enjoy!

Modern Lemonsweet with Honey and Vanilla

From A Feast of Ice and Fire: The Official Companion Cookbook by Chelsea Monroe-Cassel and Sariann Lehrer

  • 1/2 cup honey
  • 2 cups water
  • 1 vanilla bean, or 1/2 tsp vanilla extract
  • 1 sprig fresh thyme or rosemary
  • 6 or 7 lemons
  • lemon wheels or wedges for garnish

In a large saucepan over medium-high heat, combine the honey and 2 cups water. Slit the vanilla bean in half lengthwise, then, using the back of the knife, scrape the seeds out of the pod and into the saucepan, then drop the pod in as well. Bring the mixture to a boil and cook for 4 or 5 minutes, until the honey is dissolved and the mixture thickens. Remove it from the heat, add your herb sprig if desired, and allow it to cool.

Squeeze enough of the lemons to make 1 1/2 cups juice and pour it into the gallon jug or pitcher. Cut a whole lemon into wheels or wedges and set them aside to use as garnish.

Pour the honey syrup through a strainer (if used vanilla bean instead of extract). Add water to equal 1 gallon and stir well. Serve the lemonade over ice, garnished with the lemon wheels or wedges.

Photographs by Jessica Yager

March 17, 2014
by katie
1,014 Comments

Broccoli and Pine Nut Pasta

I love this recipe. It is delicious, full of vegetables, and beautiful. It is good freshly made and maybe even better cold out of the fridge the next day. I have a special love for recipes that are good cold out of the fridge the next day.

Broccoli and Pine Nut PastaThere is something so simple about this recipe, but it makes so much sense! It is one of those recipes that you come across and think to yourself, why didn’t I come up with that? Make your pasta sauce out of a vegetable you love? We’re suddenly back to the Butternut Squash Carbonara from a few weeks ago. It is such a good idea! Broccoli and Pine Nut Pesto PastaIn the introduction story for this particular recipe in the cookbook, it said, “It is a great dish to serve people who are typically resistant to green vegetables; after they taste Vincenzo’s creation, you’ll likely find them converted into avid broccoli eaters.”Broccoli and Pine Nut Italian Pasta


The recipe comes from Cooking with Italian Grandmothers. It is a interesting cookbook. A food writer spends a year traveling through Italy and finding these grandmothers to teach her to cook their favorite things. My immediate question is, how do I get a gig like that? Such a fun idea. The book is filled with stories and beautiful recipes.

So, I’m about 7ish cookbooks into this year’s goal of cooking from all the cookbooks I own, and so far, this is a great project. I’m making things that I probably wouldn’t otherwise and I’m diving deeper into my collection of cookbooks than I have in the past. Thanks for going on this journey with me!

I made this recipe as is with one exception. I couldn’t fine peperoncinos in my grocery. But, when I researched them online, it was basically a dried red chili, so I substituted a dried chili from my pantry and it was great.

Vincenzo’s Broccoli and Pine nut Pasta

From Cooking with Italian Grandmothers: Recipes and stories from Tuscany to Sicily by Jessica Theroux

  • 2 heads broccoli
  • 4 cloves garlic
  • 1 dried peperoncino, finely minced
  • 3-4 TB olive oil
  • 1/4 cup pine nuts
  • 6 oily sun-dried tomatoes, finely chopped
  • 1 lb medium-length pasta, such as fusilli or penne
  • salt to taste
  • Grated parmesan or hard pecorino cheese to garnish

Cut the florets off the broccoli sets, wash them, and steam them with a small amount of salted water for 15 to 20 minutes, or until very soft.

Boil the water for the pasta. Salt water.

In a large saute pan over medium heat, sauté the garlic and peperoncino in the oil, until the garlic turns a pale golden brown. Add the pine nuts, the sun-dried tomatoes, and the soft broccoli. Stir to combine, then mash the broccoli with the back of a wooden spoon until it takes on a homogeneous consistency. Saute together for a few minutes, then turn off the heat while the pasta cooks.

Cook the pasta to al dente, reserve some cooking water, drain pasta, and add it to the sauté pan. Mix thoroughly, heating briefly to combine. Add a small amount of cooking water if needed. Season to taste and serve right away with a generous grating of cheese.

Enjoy!

Photographs by Jessica Yager

March 13, 2014
by katie
876 Comments

Simple Bolognese

I love spaghetti. Usually when I make it, I use a pretty basic red sauce. Something like this Zesty Red that I wrote about awhile back. But, when I go out to Italian restaurants, I love to order a good bolognese. It turns out that a bolognese is simply a red sauce with carrot and celery in the base. And onion, which I think is interesting since carrot, celery, onion, is the holy trinity base for most Creole food.

_MG_6759

Anyways, this is another recipe from Giada’s book, Everyday Italian. I’m two recipes into it this week, and I think that I’ll have to start using this cookbook more. The recipes are simple and easy to follow and the food is yummy. Now, in my opinion, this bolognese sauce is a very nice base sauce, but could do with some extra spice. When I make it again, I will probably add 1/4 tsp red pepper flakes, or some other heat to kick it up a notch. If you follow the directions exactly, it makes a very nice sauce, but I suggest you taste as you go and alter it to your preferences. I think the addition of the red pepper and some oregano would make it extra special.

If you have any leftover spaghetti, you could use it to make this other recipe from this same cookbook, Pizza di Spaghetti, which I experimented with a few years ago. Or you could just eat it. Having leftover spaghetti in my fridge is one of my favorite things.

Simple Bolognese

From Everyday Italian, by Giada de Laurentiis

  • 1/4 cup olive oil
  • 1 medium onion, minced
  • 2 garlic cloves, minced
  • 1 celery stalk, minced
  • 1 carrot, peeled and minced
  • 1 pound ground beef chuck
  • 1 28oz can crushed tomatoes
  • 1/4 cup chopped fresh flat-leaf parsley
  • 8 fresh basil leaves, chopped
  • 1/2 tsp salt, plus more to taste
  • 1/2 tsp fresh pepper, plus more to taste
  • 1/4 cup freshly grated Pecorino Romano cheese
  • 1/2 lb dried spaghetti, or pasta of choice

In a large skillet, heat the oil over medium. Add the onion and garlic and sauté until the onion is very tender. Add the carrot and celery and sauté for 5 minutes. Increase the heat to high, add the ground beef, and sauté until the beef is no longer pink, breaking up any large lumps, about 10 minutes. Add the tomatoes, basil, parsley, and salt and pepper. Cook over medium-low heat until the sauce thickens, about 30 minutes.

Boil water and cook pasta to package directions.

Stir cheese into sauce and salt and pepper to taste. Mix with pasta and eat!

_MG_6745Enjoy!

Photographs by Jessica Yager

March 10, 2014
by katie
985 Comments

White Bean Dip with Pita Chips

This week I am sharing two recipes from Everyday Italian by Giada De Laurentiis. This is a very easy to use and understand cookbook. You can learn a number of basic Italian staples and how to put them together quickly and easily. Granted, it is kind of weird that there are more photos of Giada in the book than there are photos of food, but no one asked me about the layout I suppose. _MG_6618Anyways, I recently dove into this book and the first thing I made was this absolutely delicious recipe for White Bean Dip with Pita Chips. In the cookbook, even Giada admits that pita chips aren’t particularly Italian, but they work really well with the dip. She describes it as an Italian version of hummus, which I can see, but I like this way better than I like hummus. The dip is smooth and creamy, not to mention super easy to put together. In fact, this is a good recipe to have up your sleeve in case of last minute company. It is likely that you might have everything you need to make this dip in your pantry and in your garden. _MG_6662I was also drawn to this recipe because of the pita chips.  I remember when I was a kid my mom went through a phase where she made pita chips like this for my brother and I all the time to snack on. Instead of the oregano and salt and pepper for flavoring, I think she usually used a creole seasoning, or seasoning salt. They were delicious. 
_MG_6623This is a great snack for a dinner party, drinks with friends, or to feed to hungry children after school. It takes very little time and energy, but tastes bright and fresh. The chips are crispy and if you use whole wheat pita, they’re pretty good for you too. In fact, the dip would be great with some fresh carrots and celery as well.


White Bean Dip with Pita Chips

From Everyday Italian by Giada De Laurentiis

  • 4 pita breads, split in half horizontally and cut into wedges
  • 2 TB plus 1/3 cup olive oil
  • 1 tsp dried oregano
  • 1 1/2 tsp salt, plus more to taste
  • 1 1/4 tsp black pepper, plus more to taste
  • 1 (15 oz) can cannellini beans, drained and rinsed
  • 1/4 cup loosely packed parsley leaves
  • 2 TB fresh lemon juice (about 1/2 a lemon)
  • 1 garlic clove

Preheat oven to 400.

Cup each pita half into 8 wedges. Arrange wedges on a large baking sheet, rough side up. Brush the wedges with the 2 TB olive oil, then sprinkle with oregano and 1 tsp each of the salt and pepper. Bake for 8 minutes, then turn the wedges over and bake until they are crisp and golden, about 8 minutes more. (Mine only took about 5 minutes more.)

Meanwhile, in a blender or bowl of a food processor, combine the beans, parsley, lemon juice, garlic, and the remaining salt and pepper. Pulse until the mixture is coarsely chopped. With the machine running, gradually mix in the remaining 1/3 cup olive oil until the mixture is creamy. Season the puree with more salt and pepper to taste if needed. Transfer the puree to a serving bowl and serve with the pita toasts. The toasts can be warm or room temperature.

The dip and chips can be made ahead of time. Store the chips in an airtight container at room temperature.

_MG_6642Enjoy!

Photographs by Jessica Yager

March 7, 2014
by katie
1,042 Comments

Butternut Squash Carbonara with Bacon and Sage

What’s not to love about Fettuccine Carbonara? Well, that it isn’t very good for you at least. That’s about the only thing I can think of.

That is why when I came across this recipe in my Bon Appetit this last month I just had to give it a try. A carbonara without egg? Weird, I know. But trust me, this has so much vegetable in it, you’ll think it is practically a health food. But at the same time, it tastes decadent and delicious. 
Winter squash carbonara

In fact, you could even leave out the cheese if you or those around you are of the lactose intolerant persuasion. It will not take away from the dish at all. With or without the cheese, you have a pasta rich in flavor, delightful in texture, and with a beautiful color. 
winter squash carbonara3In fact, looking at these pictures, I am suddenly inspired to paint my whole world in this color scheme.

I’m in an orange wall kind of mood.

Back to the food: The sage makes the squash really sing. It is such a nice, green, earthy flavor in the midst of the relatively sweet squash. The butternut squash itself is silky smooth and tastes like you added a ton of cream in there somewhere, even though there isn’t a drop. Winter squash carbonara- serveAnd then the bacon. My goodness the bacon. The original recipe called for pancetta, but I used good old bacon and it worked just beautifully. Make sure you get your bacon nice and crisp, so that it provides a nice variance in texture when you dig into a bowl of the pasta. winter squash carbonara2And trust me, you are going to dig into this. This is the kind of dish that winter is all about. The recipe is a keeper; something I look forward to making again. I can’t get enough butternut squash this time of year and this may be my new favorite way to eat it.

Butternut Squash Carbonara with Bacon and Sage

From Bon Appetit

INGREDIENTS

  • 2 tablespoons olive oil
  • 4 oz. bacon chopped
  • 1 tablespoon finely chopped fresh sage
  • 1 2-lb. butternut squash, peeled, seeded, cut into ½” pieces (about 3 cups)
  • 1 small onion, chopped
  • 2 cloves garlic chopped
  • Kosher salt and freshly ground black pepper
  • 2 cups low-sodium chicken broth
  • 12 oz. fettucine or linguine
  • ¼ cup finely grated Pecorino, plus shaved for serving

Heat oil in a large skillet over medium-high heat. Add bacon, reduce heat to medium, and cook, stirring occasionally, until crisp, 8–10 minutes. Add sage and toss to coat. Using a slotted spoon, transfer bacon and sage to a small bowl; set aside.
Add squash, onion, and garlic to skillet; season with salt and pepper and cook, stirring occasionally, until onion is translucent, 8–10 minutes. Add broth. Bring to a boil, reduce heat, and simmer until squash is soft and liquid is reduced by half, 15–20 minutes. Let cool slightly, then purée in a blender until smooth; season with salt and pepper. Reserve skillet.
Cook pasta in a large pot of boiling salted water, stirring occasionally, until al dente. Drain, reserving 1 cup pasta cooking liquid.
Combine pasta, squash purée, and ¼ cup pasta cooking liquid in reserved skillet and cook over medium heat, tossing and adding more pasta cooking liquid as needed, until sauce coats pasta, about 2 minutes. Mix in ¼ cup Pecorino; season with salt and pepper.
Serve pasta topped with reserved bacon and sage, shaved Pecorino, and more pepper.

Dig in!

Photographs by Jessica Yager

February 28, 2014
by katie
1,117 Comments

The Secrets of the Immortal Nicholas Flamel (continued)

A few weeks ago I posted about the first two books in the Nicholas Flamel series, The Alchemyst and The Magician. Since then, I have read all the remaining books in the series. All four. I have an addiction problem when it comes to book series.

Since I have put it off and now have four more in a series to tell you about, I’m going to do it all at once.

The Secrets of Nicholas FlamelAnd what is more, I don’t want to tell you too much about plot points, as I wouldn’t want you to lose the discoveries for yourselves as you go through the series. But here are some things I will tell you.

First of all, the names of the different books are titled to reflect which of the many characters will be focused on and central to the plot throughout that particular installment. Interestingly enough, Nicholas Flamel, though an instigator in the beginning of the series, becomes more of a side character as it goes on. The real story focuses on the twins, Sophie and Josh. They are teenagers who are thrust into a world of magic and legend. They have magical powers that are slowly awakened throughout the books and they learn of a war between different factions of mythical beings. There are the Elders, who protect and encourage humanity, and the Dark Elders, who wish to return to the world and either destroy or enslave humanity. Sophie and Josh must constantly question who they should be fighting for. No one is ever fully honest with them and everyone has something to gain from having them on their sides. And while the answer might seem obvious, the agents of the Dark elders can be very convincing and devious.

The adventures take the reader and the characters through many alternate worlds and even through time. Along the way we meet many exciting figures from legend such as Mars, the god of war, Prometheus, and Odin. Machiavelli continues to play an important role in the stories and is very fun to watch. We meet William Shakespeare and Billy the Kid. There are also exciting monsters, such as the Sphinx, a seven headed water dragon, and the many legged Nereus, the Old Man of the Sea, and his horrible and deadly mermaid daughters.

Honestly, I’m not sure this series needed to be 6 books. Some of the middle books felt like not enough progress was being made in the story. Sure, fun things were happening, but there seemed to be some dragging out of the story. However, the final book was the best of the series. Everything came together in the end in a very satisfying way and much of the information you accumulated along the way that seemed inconsequential at the time, turned out to be important.

I’m pretty sure this series will not become a new classic. It isn’t going to stand up to Narnia or Harry Potter in the hearts of young people, but it was a good time. It might make someone want to learn more about these characters from myth and history. I certainly didn’t know who Virginia Dare was until this book.

I wish that I had not purchased the whole series on my Kindle. One, because it probably cost more in the end than I would have liked to spend for the series, but two, because I wish that I had the collection in physical form to share with others. The series was a good time. The kind of light reading that will make these winter days fly by.

February 26, 2014
by katie
904 Comments

Chewy, Sparkle Ginger Cookies

These cookies taste like winter. They are dark and sweet while still being a little bit bitter. They warm you from the inside out. JessicaYagerPhotography--28They taste like ginger and molasses and make you want to sit in front of a fire with a glass of bourbon and munch them down. Or maybe that is just me. It is entirely possible that they are meant to be eaten with tea or milk. I’ll leave that up to you. JessicaYagerPhotography--25
And did I mention that they sparkle?

JessicaYagerPhotography--27Maybe at this point you are saying, “Gee Katie, these look really familiar. Didn’t you post this recipe before?” and the answer is yes, yes I did. A long time ago. However, at that time I took pictures with my camera phone and I figured that since I have these newer lovely photos to share with you, I should post it again. And really, I just wanted to remind you about these cookies because it is the time of year for them and you don’t want to miss out. 
JessicaYagerPhotography--23I have made these for coworkers. I have mailed them to family. They hold up well and they are always enjoyed and appreciated. They make your kitchen smell like heaven and did I mention they sparkle? You gotta love raw sugar.

JessicaYagerPhotography--20
If you are looking for one more reason to enjoy winter and stop longing for spring, this could be your cookie right here.

Chewy, Sparkle Ginger Cookies

From Bon Appetit

  • 2 1/4 cups all-purpose flour
  • 2 1/2 teaspoons ground ginger
  • 1 1/2 teaspoons baking soda
  • 1/2 teaspoon ground cinnamon
  • 1/2 teaspoon freshly ground nutmeg
  • 1/2 teaspoon kosher salt
  • 1/4 teaspoon freshly ground black pepper
  • 3/4 cup (packed) dark brown sugar
  • 1/2 cup vegetable shortening (preferably trans-fat free)
  • 1/2 cup (1 stick) unsalted butter, room temperature
  • 1 large egg
  • 1/2 cup blackstrap (robust) molasses
  • 2 teaspoons finely grated peeled ginger
  • 1 teaspoon vanilla extract
  • 1/2 cup finely chopped crystallized ginger
  • 1 cup raw or sanding sugar
Arrange racks in lower and upper thirds of oven; preheat to 350°.
Line 2 baking sheets with parchment paper. Whisk flour, ground ginger, baking soda, cinnamon, nutmeg, salt, and pepper in a medium bowl. Using an electric mixer on medium-high speed, beat brown sugar, shortening, and butter in a large bowl, scraping down sides halfway through beating, until light and fluffy, about 3 minutes. Reduce mixer speed to low. Add egg, molasses, grated ginger, and vanilla; beat just to blend. Add flour mixture; beat on low speed just to blend. Mix in crystallized ginger (dough will be very soft and sticky).
Place raw sugar in a shallow bowl. Using a tablespoon measure, scoop out dough. Using a second spoon, scoop dough from tablespoon measure into bowl with raw sugar; turn to coat well. Roll into ball. Transfer to prepared baking sheet. Repeat with half of remaining dough and sugar, spacing balls 1 1/2″ apart.
JessicaYagerPhotography--14
JessicaYagerPhotography--13
JessicaYagerPhotography--17JessicaYagerPhotography--16
JessicaYagerPhotography--15
Bake cookies, rotating sheets halfway through, until edges are firm and centers appear cracked, 10–12 minutes. Transfer cookies to wire racks and let cool. Repeat with remaining dough and sugar, using cooled baking sheets and new parchment. DO AHEAD: Can be made 3 days ahead. Store airtight at room temperature between sheets of parchment or waxed paper.
Enjoy!

February 20, 2014
by katie
6 Comments

Roasted Brussels Sprouts

There is nothing complicated about this recipe. One of the things that I love about the Barefoot Contessa is that she has a way of taking fresh ingredients and cooking them in simple ways that make them really shine.

Brussels sprouts are one of those winter vegetables that fill up the farmer’s markets this time of year. They are cute and you think about taking them home, but then remember that one time your great aunt made you eat them and they were mushy and bitter and gross. I think Brussels sprouts are one of those things that are easy to cook poorly, but lovely when you do them right. Pick some up at the market. This recipe is foolproof and might change the way you think about this misunderstood vegetable. 
IMG_1973The roasting makes the sprouts crispy on the outside, with a slightly nutty flavor. I love the leaves that fall off during the cooking and get super crisp. They are like little potato chips. The inside becomes very soft and smooth.

The recipe comes from The Barefoot Contessa Cookbook.  I have many of her cookbooks and have shared many recipes from them with you. But, in my year of cooking from all my books, I figured I should even cook from the books I use all the time. I had never made this particular recipe before, and I’m glad I got around to it. This will be my go-to brussels sprouts recipe from now on. (Though in the future, it seems like it could use some bacon. Because seriously, who doesn’t love bacon?)UnknownThis would be a lovely side to whatever you are cooking up this winter. I’m going to enjoy alongside some sautéed chicken breasts that were marinated in lemon, thyme, and Dijon mustard. That is, if I don’t eat these all first. I keep walking by and popping one more in my mouth.

IMG_1972Keep an eye on these as you cook. You need to shake the pan fairly often to get an even brownness. Also, I only roasted mine for 30 minutes, so there might be some variance in cooking time.

Roasted Brussels Sprouts

From The Barefoot Contessa Cookbook

  • 1 1/2 pounds Brussels sprouts
  • 3 TB good olive oil
  • 3/4 tsp kosher salt
  • 1/2 tsp freshly ground black pepper

Preheat the oven to 400 degrees.

Cut the ends of the Brussels sprouts and pull off any yellow outer leaves. Mix them in a bowl with the olive oil, salt, and pepper. Turn them out on a baking sheet and roast or 35-40 minutes, until crisp outside and tender inside. Shake the pan from time to time, to brown the Brussels sprouts evenly. Sprinkle with more kosher salt (I like these salty like french fries) and serve.

Enjoy!